Showing posts with label button. Show all posts

Tuesday, July 5, 2011

Happy (Belated) Birthday America!

I hope everyone had a fantastic 4th of July weekend.  We surely did.  First up was a day at the Annual Litchfield Pet Parade.  It is sponsored by the Litchfield Historical Society and everyone seemed to have a great day.  There were everything from hamsters to puppy dogs and the only downside to the day was that it made me want a puppy!  There were dozens of different breeds there and it was so hard not to go home with the little beagle who was wearing an "adopt me" coat in the parade :-)  But alas, our tiny apartment and our two cats would never allow it.  So, we went home without any extra pets, and headed towards the local fireworks...which, as always, were my favorite part of the day.

To gear up for the Pet Parade and the general patriotic mood of the day, I made a red, white, and blue cockade.  I found the tutorial, here, at American Dutchess.  The best part of this project...I used things I already had!  Since it did not require a large amount of ribbon, I was able to do it with scraps I had lying around.
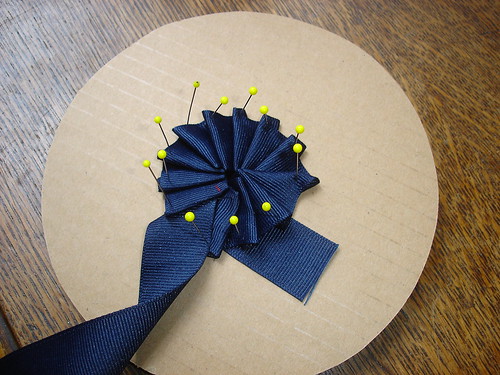

I quickly found that having something to pin the cockade onto, that had a whole in the middle, ended up being a VERY important part of the process.  I did not have a cork board as American Dutchess suggested, so, I pulled out an old piece of cardboard I was saving for something and cut a small hole in the middle to allow me to sew the cockade together in the center when I was done pleating it.  Even though I kept getting my thread caught on the pins, it still worked far better than trying to hold it in my hands.
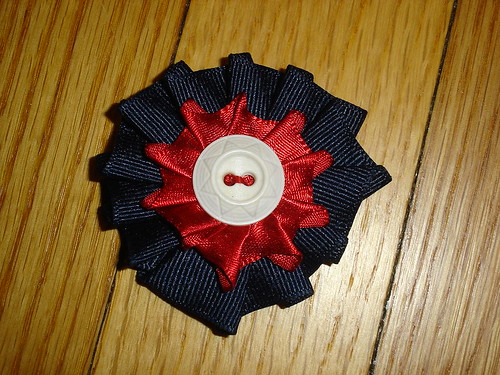

After doing another layer in red, I stitched the two together and added a white vintage button.  I added a pin to the back so it could be easily attached to a white t-shirt for the Pet Parade.


I think I may have to make some more of these!  


Did you create anything special to celebrate America's birthday?

Wednesday, March 16, 2011

A Sewing Project

My friend Kate, who also works for a non-profit, asked if I could help her out.  She's been doing some of the muesum education programs in costume so the kids get a visual of one of the ways life was different in the past.  There was an 1820s style dress that was not quite right, so...sewing machine to the rescue!  One of the major problems (besides being a little big) was that the dress did not provide much modesty when it came to actively teaching children.

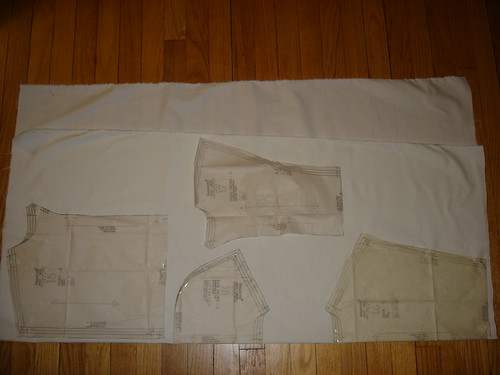
I dug out an old pattern for undergarments and accessories of the early 1800s from a box under my bed.  We picked out this little undergarment that would go under the dress and provide a bit of modest coverage.  Since it was going to be right next to the skin, I decided this called for some super soft Egyptian Cotton...Oooo.


Notice all the extra fabric?  I like to make sure I have plenty, I'm always scared I'll read the pattern wrong or mess it up and need more....plus, the scraps are so usefull!


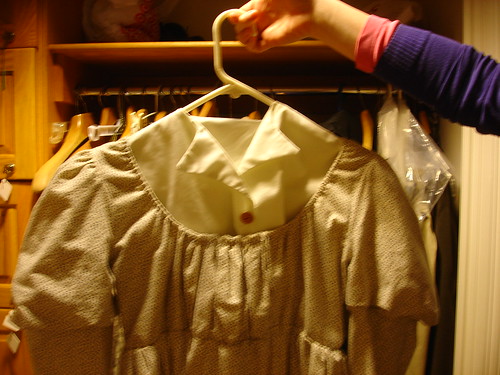
Here is the finished product hanging in front of our nice blue living room walls!  It fits right up against the rib cage and buttons up the front (with buttons from the button jar, of course).  Since it cinches at the ribs, it can adjust to fit the wearer.


And this is how it looks under the dress (Kate was kind enough to allow a quick picture).  And we thought the look of a crisp white shirt under a low-cut dress was new!!!  I also added a draw string at the waist and the neckline so the dress can vary just a bit in size, plus added a pocket to one side so Kate can carry her keys with her.  Always great to help out a fellow non-profit employee.


Have you ever found the solution to a sewing problem hiding in a box under your bed?

Tuesday, March 8, 2011

A hidden advantage to craftyness...

I am constantly a girl on the hunt for a bargain, and often times that means finding something on the racks that is there because of a small problem making it undesirable to most, but perfect for us crafty types!  This weekend I spent a much needed mini-vacation in Providence....Boston is cool, and I love living close to Manhattan, but Providence will forever hold a special place in my heart as my favorite city in the North East.  While there, a few bargains found their way back to Connecticut.  One of them required a bit of crafty ingenuity to make them perfect. 


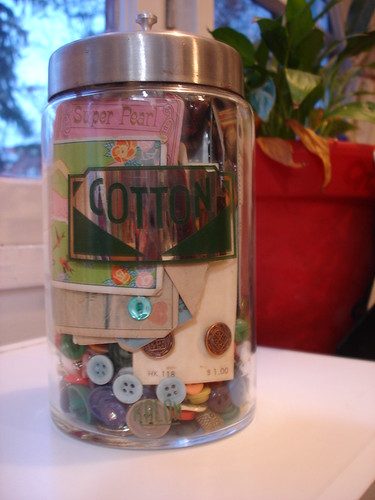
Although these mitts are wonderful, they came with a slight flaw....the severe lack of a button on the right mitt.  This is one reason I love being crafty.  Instead of having to pass up the amazing green pair (this was the only pair left) and having to go with the "safer" black pair that boasted two buttons, I was able to bring them home, dig through my button jar, and make them perfect once more!


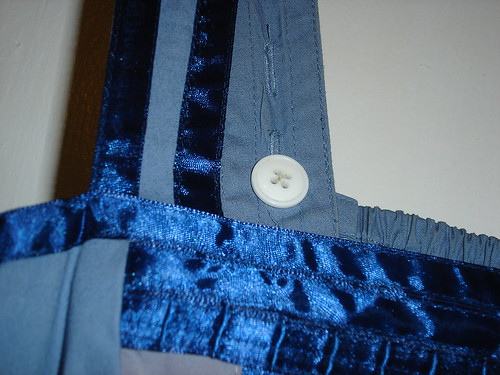
This is the ever ellusive, "perfect crafter's bargain."  A dress, still being sold in the store at full price, but this particular one found its way to the bargain rack because it was missing one of the all-important buttons that held the strap to the dress.  Easy Fix!!!!  Again, to the button jar I went, and I emerged with an amazing dress at half the price, just because I was able to change out some missing buttons!


One of the best parts of our trip, however, (besides visiting friends, of course) was going to the Elmwood Diner in Providence and eating these AMAZING orange and cinnamon pancakes with sweet butter and real maple syrup.  I'll have to hunt down a recipe for these :-)


Have you ever found a hidden bargain because of your crafty abilities?

Monday, February 28, 2011

Leaf Pins and Sandwich Bread

For the last few months I have been on the hunt for a great sandwich bread recipe...and I think I finally found one!  It is from Mark Bittman's How to Cook Everything.  And it is delicious.  I think the hardest thing about making homemade bread is finding a place to let it rise.  Luckily, our apartment has huge old radiators that provide the perfect warm environment for rising bread dough...who knows what I'll do once summer hits!


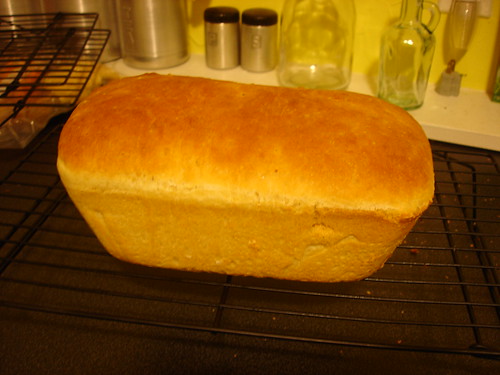
This is the resulting golden brown loaf of bread.  Mmmmmm.  My favorite way to eat it is toasted with hazelnut spread.


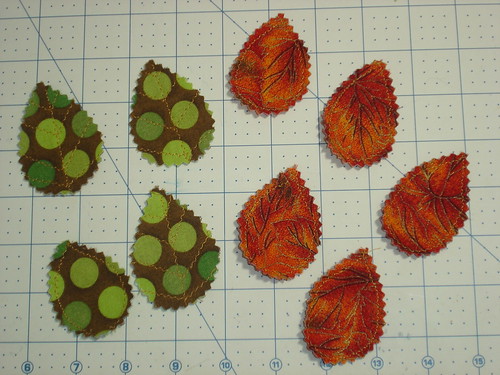
Well, baking bread is not the only thing I did this weekend.  I also did some crafting with a few things from my "leftovers" box.  After finding these fabric leaves I tried making months ago (the original project didn't work out...but oh well, it happens!), I thought they would make great bases for some new pins.


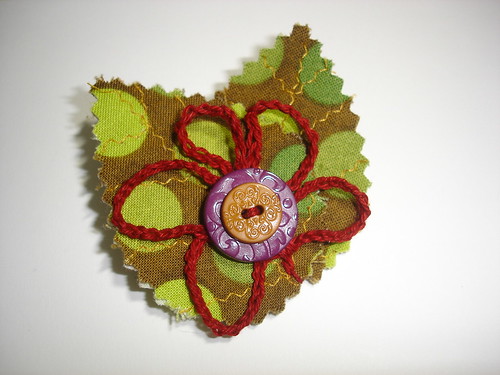
The first one I made using a crochet chain stitched flower, some buttons, and two of the green leaves.


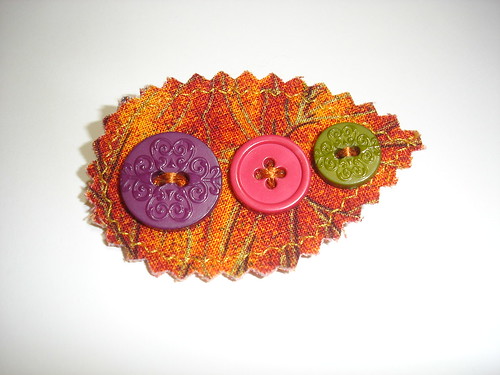
The second one I tried using an orange leaf as the base for some beautiful buttons.


I love digging into my scrap bucket and figuring out fun things to make from things I didn't think were much use anymore!


Do you have a "leftovers" pile that you create from?

Monday, February 7, 2011

Valentines for my Valentines

Last year I made my parents a Valentine at our family program at work.  It was not my best card, to say the least.  But, as parents always do....they loved it!  I was reminded of this funny Valentine when I was home for Christmas and saw it proudly displayed on the refrigerator.  So, this year I decided I had better make it a good one.

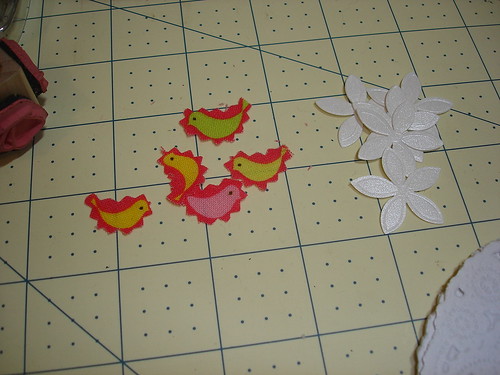
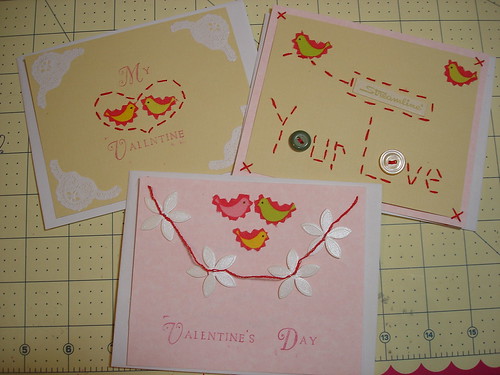
I ventured forth to make Valentines for my parents, and both of my sisters...but I cannot tell you whose is whose because I still want them to be surprised when they arrive in the mail.  First I had to gather up supplies: paper flowers, doilies, stamps, and some cute little birds I cut from a scrap of fabric.


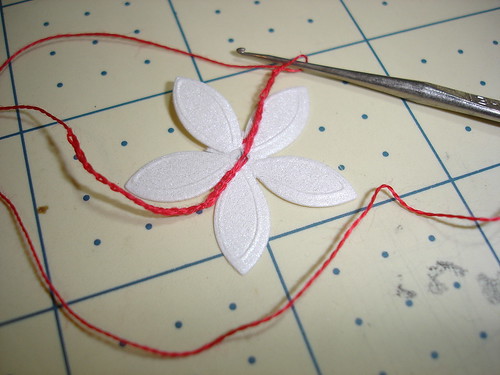
Each Valentine got a super special touch.  One recieved a carefully crocheted garland of flowers using embroidery floss.  It was hard to do it so small, but since I just used a simple chain stitch, it did not take too long.


The end result could not have been more adorable.


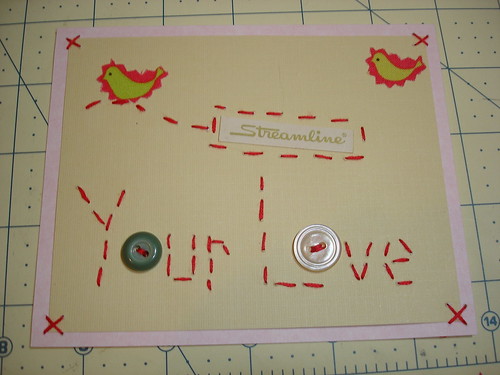
I used a combination of bits and pieces for the next one: a snippet from an old button paper, embroidery floss, and a couple of buttons...


(Don't tell the others, but I think it turned out to be my favorite)


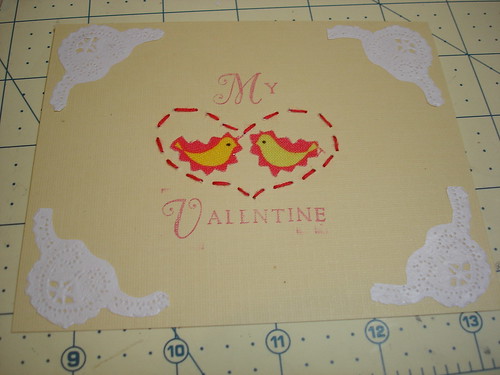
The final Valentine got decorated with a bit of stitching, pieces of a paper doily and two little love birds.


I think they all turned out pretty cute!  Any one of these would make a nice addition to the refrigerator. 


I hope the recipients enjoy getting them as much as I enjoyed making them!


Are you making anything special for Valentine's Day?

Tuesday, February 1, 2011

There once was a napkin...

When I got married back in October, my spouse and I decided to do a lot of the wedding DIY...(which you will see pieces of throughout the life of this blog)...including the napkins.  Since we were only using them once, we did not hem the napkins, just washed the fabric and cut them with pinking shears.  Now, we have these random squares of green and orange fabric.  Today, two of those napkins turned into something else.

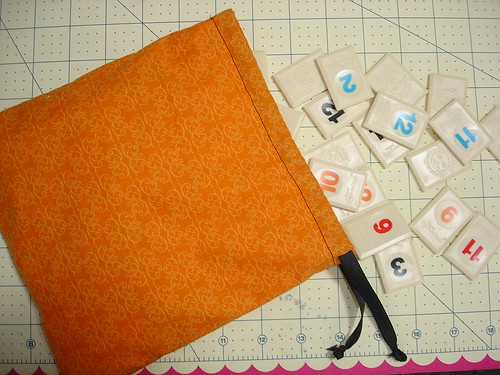
The first thing on the agenda was to make this awesome Rummikub bag. Now we won't have to pass the big box around when it is time to draw tiles, we can just pass this cute little orange bag!


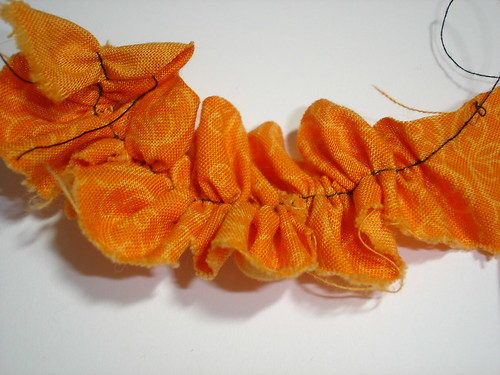
I still had a little bit of orange left, so I combined it with some green and made a simple ruched flower pin.  I started out with a strip of fabric and sewed a zig-zag line to create the basis of the ruched flower.


After pulling the thread tightly to create the ruched line...


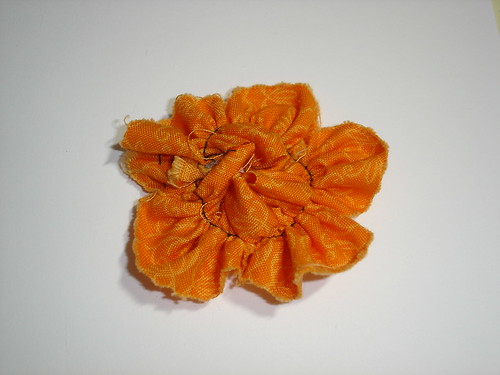
I sewed the strip into a circle making one layer of the flower.


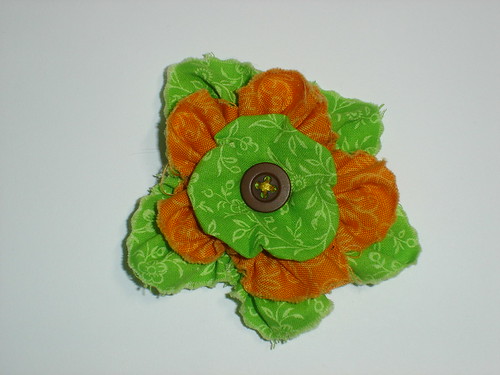
I repeated the steps with a strip of green.  Then created a green yo-yo for the center and finished it all off with a now un-smelly button! 

It isn't perfect, but it's cute. 


In what kind of creative ways have you reused bits of fabric?

Thursday, January 27, 2011

Stinky Buttons? No More!

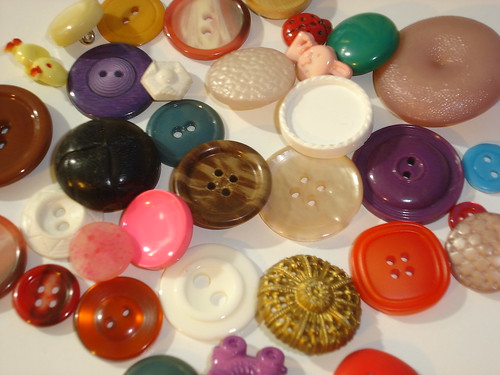
I love vintage buttons.  Actually, I love just about anything vintage.  But buttons are one of those fabulous little things that always make me wonder how these used to fit in someone's life.  Were they once on a shirt, or bought because they matched a bit of fabric just waiting for the perfect dress pattern?  Well, whatever the reason, I love them. 

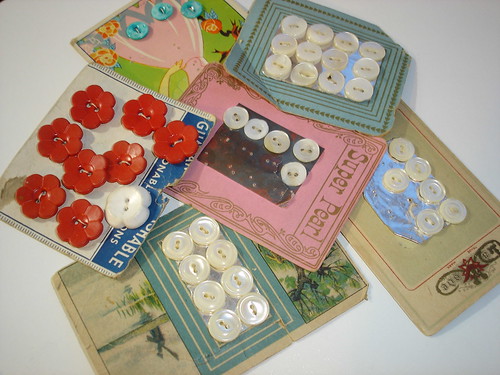
When I was home over Christmas, my mom and I decided to go on a treasure hunt through a bunch of old canisters and bins full of buttons from my great grandmas.  Some of them were still attached to their original packages, and others were hanging loose. 

Now, here is the problem with vintage buttons....they usually smell!!  We all know the musty old smell of most things vintage, but how do you get it out?  Do you pass up that fabulous set of pink shank buttons because they smell horrible?  Of Course Not!!! 

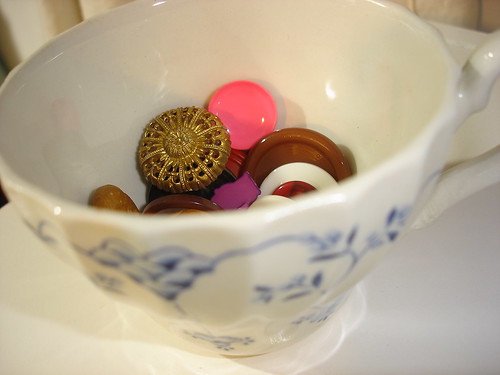
Mom taught me this great little secret and I thought it was well worth sharing.  As I sat there with my button treasures she disappeared and immerged with a box of denture cleaning tablets.  So, we put the buttons in teacups and bowls (don't put in too many, make sure there is room to agitate them), added water, dropped in a denture tablet, agitated them a little, and waited.  After the fizzyness of the denture tablets dissipated, we rinsed them well and laid them on a towel to dry.  And...Voila!!!!  Dry buttons that no longer stink! 

I do warn however, that not all buttons may react favorably to this type of cleaning.  We put one in that had some metal and paint on it and the paint started chipping off.  So, decide carefully if the chance of losing a few buttons is worth making a whole bunch of them more useful!

Do you have any great secrets to dealing with vintage materials?